Monitor data from remote sources using Docker, Promtail, and Grafana Loki on a Single Board Computer
There may come a time when you’d like to monitor your devices from a central console, whether it’s because you are having trouble logging your various device’s activities or you just want to mess around with your homelab and add to the mayhem. In this little lab, we’ll go through the steps it takes to get your central logging console up and running with a humble beginning of monitoring a single Windows instance of event logs. This lab is intended for usage on an SBC (Single Board Computer) such as a raspberry pi, or what I’ll be using which is a Libre Computer Board. The reason for this, is because this lab is aimed at people just getting into the world of homelabbing. You definitely don’t need to have an SBC to follow this tutorial, so if you’re interested, feel free to follow along! (For those that already have an OS installed, skip to step 2.)
Step 1: Loading the SBC with Armbian
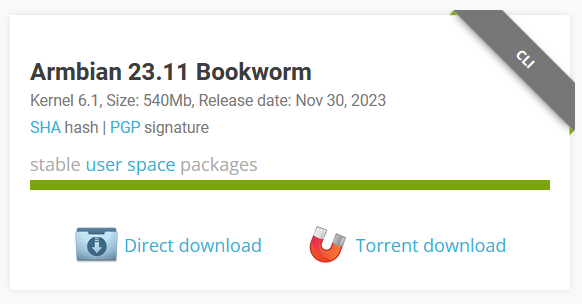
You may use whatever OS you’re comfortable with, but I’m going to use Armbian. For the Libre Computer Le Potato AML-S905X-CC model, you’ll want to download the file here and use the Armbian Bookworm CLI version as shown below:

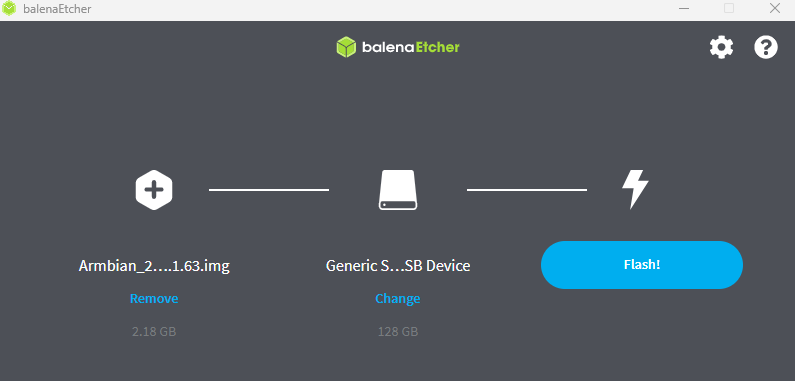
Download the Balena Etcher imaging software to your desktop and open it up. Take your Micro-SD Card of choice, plug it in your computer and select the Armbian image you just recently downloaded to install onto the SD card. This will create a bootable Armbian OS which you’ll use as your bootdrive in the Libre SBC.

Once Etcher has completed your OS installation, remove the Micro-SD card from your desktop and plug it into the Libre SBC. Make sure you connect ethernet and keyboard. Last but not least, plug the power cable in and it should fire right up. On your Desktop, open up your SSH Console of choice, whether it be the good ol’ command prompt, Putty, or what I’ll be using which is Termius. To get the IP address that’s been assigned to your new SBC, log into your router (usually 198.168.0.1 or 198.168.1.1 depending on your brand) and check your DHCP leases. It should have a hostname listed as “lepotato”. Once you’ve found your IP address, plug that IP address in to your SSH terminal and log in as root. The default Armbian password is 1234. You’ll be prompted to change that password on your first login.
Refer to the Armbian user guide at the “How to login?” section for a walk-through on how to get logged in for the firs time. If you end up choosing ZSH as your default shell like I did, you’ll want to log out and log back in (as the other user you created during setup).
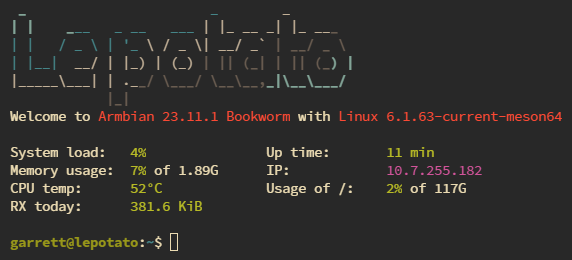
Alright, boom! We’ve got our OS installed and configured enough to get started. At the end of the this first big ol’ step you should see a console that looks like the screenshot below.
